Using PostgreSQL with PHP in Cloud Foundry
Having successfully deployed a PHP application to Cloud Foundry, I needed a PostgreSQL database for persistent storage. I found Lorna Mitchell’s Connecting PHP to MySQL on Bluemix helpful and this article expands on that information.
I want to create a cloud-based PostgreSQL database and connect it to Laravel’s Eloquent in a Cloud Foundry application. This is how to do it.
Create the database instance
As I’m using Bluemix for my Cloud Foundry hosting, I’m using them for PostgreSQL supply too. In Cloud Foundry parlance, this is called a service, so we use the cf create-service command.
The format is: cf create-service {service} {plan} {instance name}
To obtain the correct terms, we use the cf marketplace command. Search for PostgreSQL services with:
cf marketplace | grep -i postgres
The results show that there are two PostgreSQL offerings available: compose-for-postgres and elephantsql. We can then use cf marketplace -s {service name} to find out more information, including the all important service plan name that we wish to spin up.
$ cf marketplace -s elephantsql
Getting service plan information for service elephantsql as rob@19ft.com...
OK

service plan   description         free or paid
panda          Pretty Panda        paid
hippo          Happy Hippo         paid
elephant       Enormous Elephant   paid
turtle         Tiny Turtle         free
pigeon         Puffy Pigeon        paid
Of the two, elephantsql offers a free plan called turtle if you use less than 20MB. If you need more than that, then the Compose option may be a better choice. As I don’t want to pay for this example, I’m going use the ElephantSQL free plan.
Finally we need an instance name. This can be anything we like. Putting it all together, we create our PostgreSQL database with:
$ cf create-service elephantsql turtle slim-bookshelf-db
Creating service instance slim-bookshelf-db in org 19FT / space demo as rob@19ft.com...
OK
We now have a service called slim-bookshelf-db.
Bind the service to the application
Now that we have a database, we need to bind it to the application. This has the effect of making the credentials available to us in the environment.
The format of this command is cf bind-service {app name} {service instance name}
I’m binding to the slim-bookshelf app from earlier, so I can do:
$ cf bind-service slim-bookshelf slim-bookshelf-db
Binding service slim-bookshelf-db to app slim-bookshelf in org 19FT / space demo as rob@19ft.com...
OK
TIP: Use 'cf restage slim-bookshelf' to ensure your env variable changes take effect
That tip about restaging is important. As a result of binding a service to your app, a new set of environment variables are provided to you. You can use this to connect to the database.
Extract the credentials from the environment
Cloud Foundry provides a lot of environment variables to you. Information on all of the bound services can be found in a JSON object in VCAP_SERVICES. It looks like this:
{
  "elephantsql": [
    {
      "credentials": {
        "uri":
        "postgres://mhdlrgwt:DUfbTLDwPa8aeVfNs3zd93KToPidbC9j@uoixkyek.db.elephantsql.com:5432/mhdlrgwt,"
        "max_conns": "5"
      },
      "syslog_drain_url": null,
      "volume_mounts": [],
      "label": "elephantsql",
      "provider": null,
      "plan": "turtle",
      "name": "slim-bookshelf-db",
      "tags": ["DBA", "(S) Cloud", ...]
    }
  ]
}
As you can see, the credentials we need are in elephantsql -> credentials -> uri.
As it’s JSON, you can get at it using:
<?php
$vcapServices = json_decode($_ENV['VCAP_SERVICES'], true);
$dbCredentialsUrl = $vcapServices['elephantsql'][0]['credentials']['uri'];
Annoyingly, we have to know the product name of the service we’ve bound (elephantsql in this case in order to find the correct credentials. This means that if we swapped to compose-for-postgresql, then we’d have to change our application code.
Fortunately, Cloud Foundry has thought of this and provides the DATABASE_URL environment variable as well. This is set to the first service that you bind that has a credentials URI.
So we can also do:
<?php
$dbCredentialsUrl = $_ENV['DATABASE_URL'];
and our code won’t need to change if we swap to a different PostgreSQL provider.
The format is: postgres://{user}:{password}@{host name}:{port}/{database}
We can use parse_url() on it:
<?php
$dbCredentials = parse_url($dbCredentialsUrl);
This creates an array that looks like this:
Array
(
    [scheme] => postgres
    [host] => uoixkyek.db.elephantsql.com
    [port] => 5432
    [user] => mhdlrgwt
    [pass] => DUfbTLDwPa8aeVfNs3zd93KToPidbC9j
    [path] => /mhdlrgwt
)
All we need to do now is plug this information into the right place.
Configuring Eloquent
As Slim-Bookshelf uses the Eloquent database component we need to update our configuration with the information from DATABASE_URL.
The current relevant part of the configuration code is in settings.php and is an array like this:
<?php
return [
    'settings' => [
        'db' => [
            // Illuminate/database configuration
            'driver'    => 'pgsql',
            'host'      => 'localhost',
            'Port'      => '5432',
            'database'  => 'bookshelf',
            'username'  => 'bookshelf',
            'password'  => 'bookshelf',
            'charset'   => 'utf8',
            'collation' => 'utf8_unicode_ci',
            'prefix'    => '',
            'schema' => 'public',
            'sslmode' => 'prefer',
        ],
        // ...
    ],
];
To change this, we parse the $dbCredentialsUrl with parse_url() and put the relevant information against the relevant keys:
<?php
$dbCredentialsUrl = $_ENV['DATABASE_URL'] ?? 'postgres://user:pass@localhost:5432/bookshelf';
$credentials = parse_url($dbCredentialsUrl);

return [
    'settings' => [
        'db' => [
            // Illuminate/database configuration
            'driver'    => 'pgsql',
            'host'      => $credentials['host'],
            'Port'      => $credentials['port'],
            'database'  => trim($credentials['path'], '/'),
            'username'  => $credentials['user'],
            'password'  => $credentials['pass'],
            'charset'   => 'utf8',
            'collation' => 'utf8_unicode_ci',
            'prefix'    => '',
            'schema' => 'public',
            'sslmode' => 'prefer',
        ],
        // ...
    ],
];
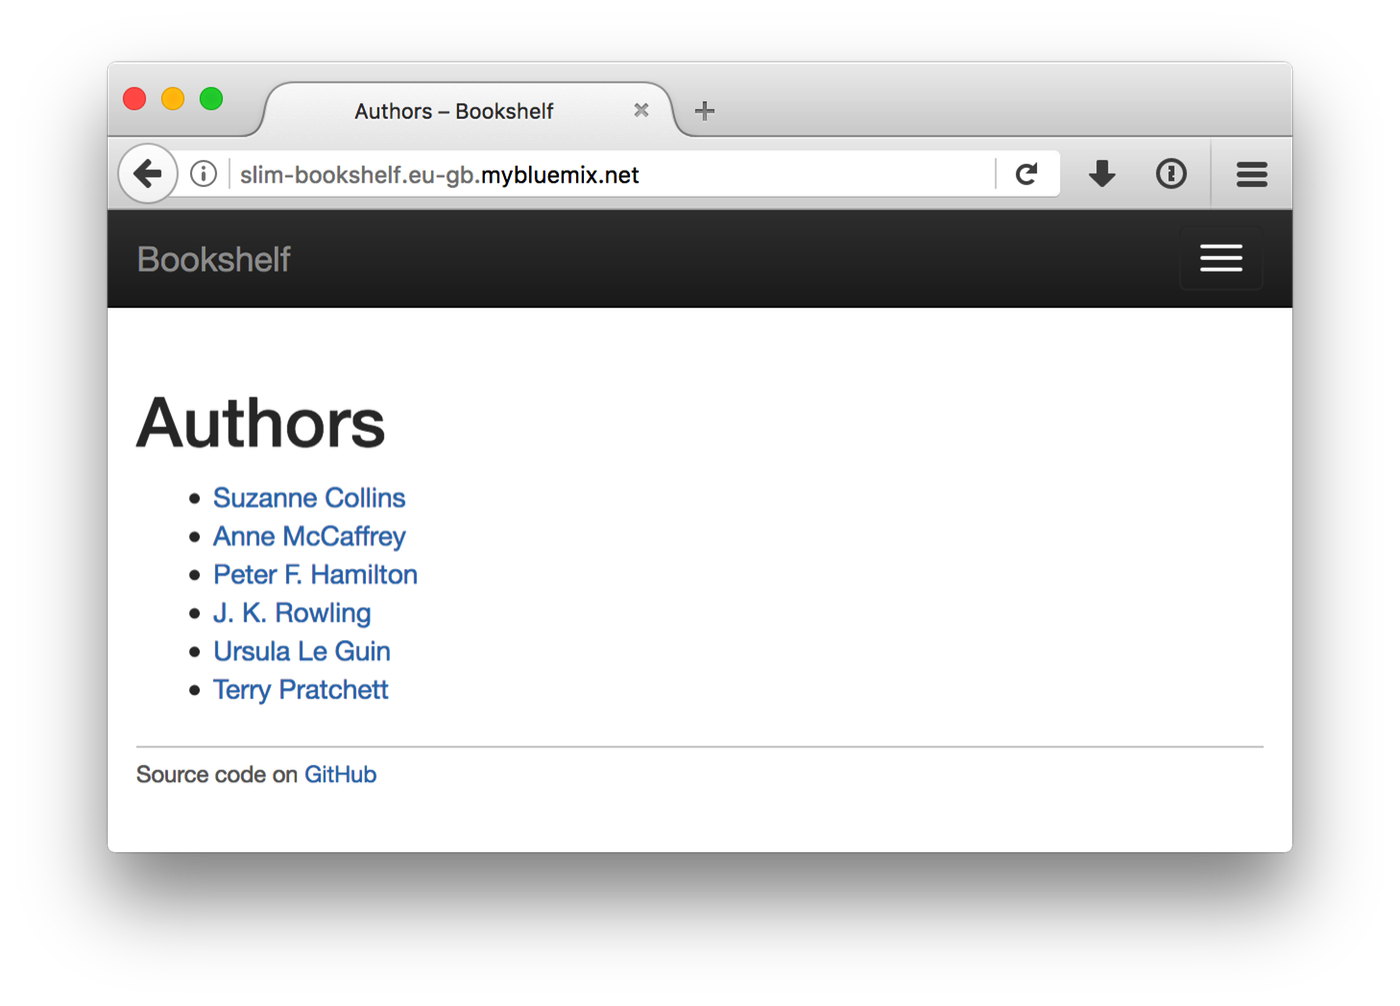
Our website now connects to our ElephantSQL database when we cf push and continues to work with our local development system.
We have a working database backed website on CloudFoundry!