Previewing OpenAPI specs using redocly's Docker container
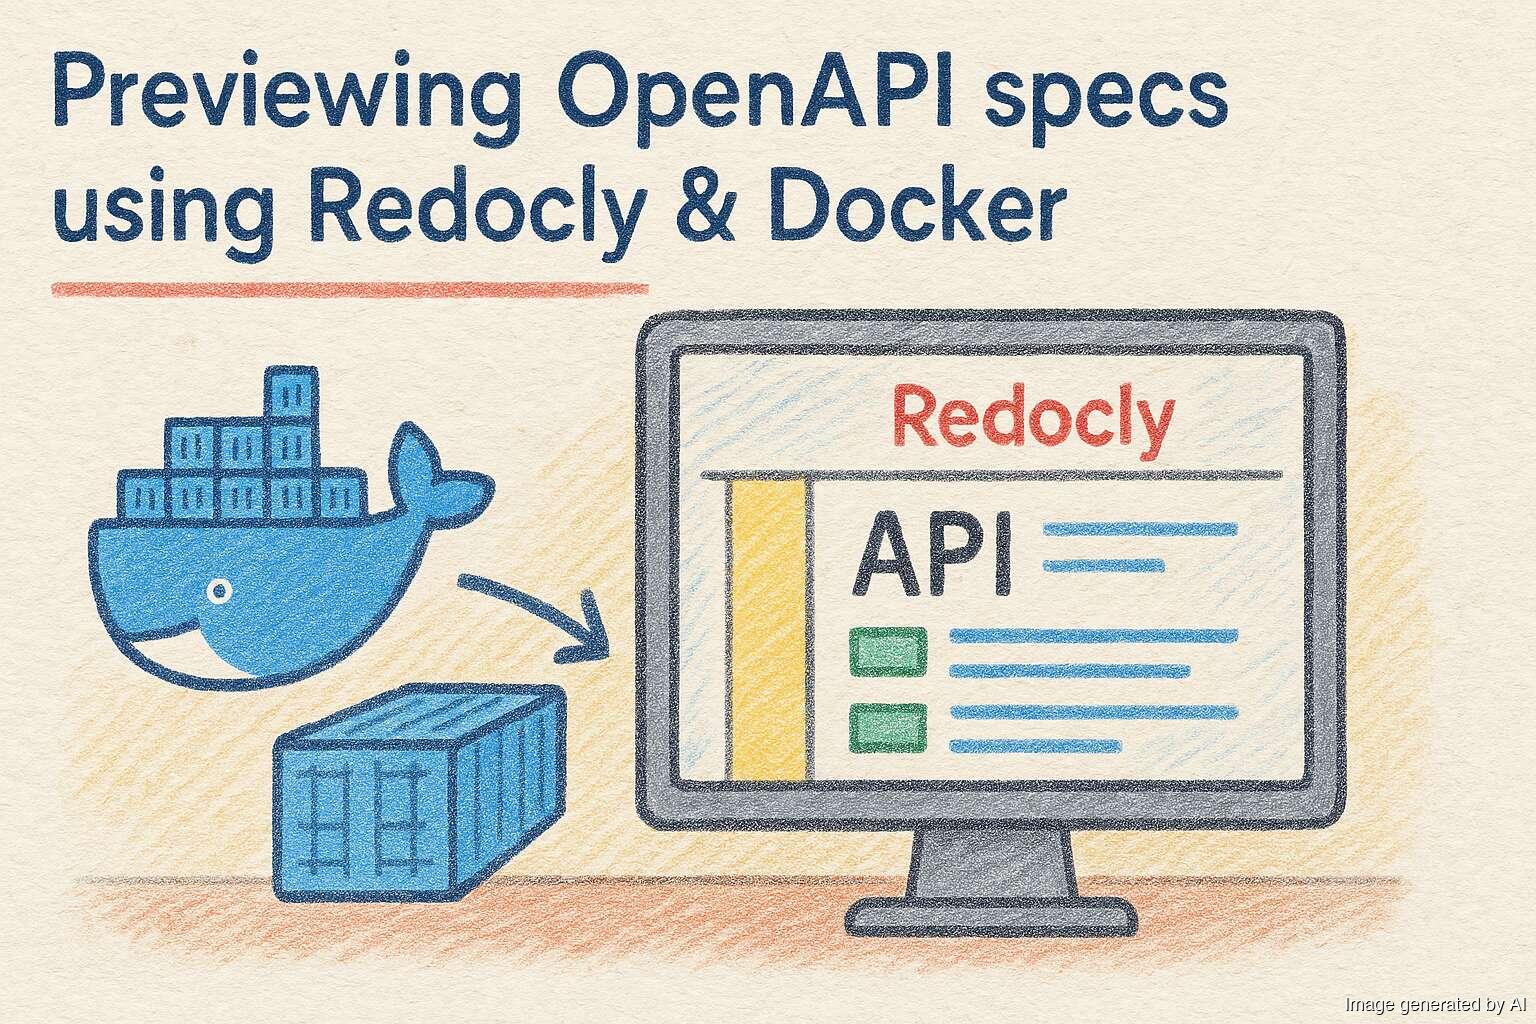
To provide consistency between the environments of our developers, I'm a strong proponent of using containers so that every developer is using the same versions of our tools. This is really important for command line tooling that depends on a separately installed language such as NodeJS or PHP as a simple npm i -g can install wildly different versions if a dev is running an older (or newer!) version of Node. For OpenAPI specs, listing… continue reading.